Simple Glitter Nail Art

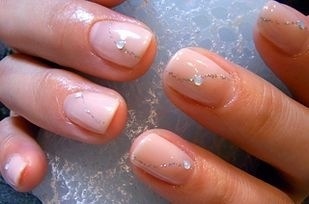
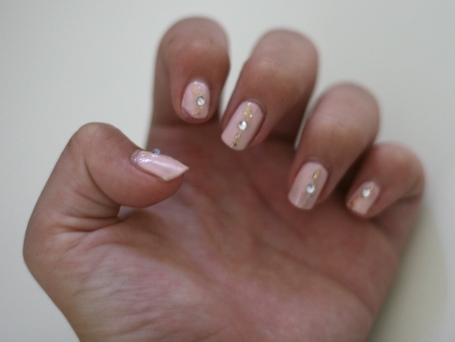
Today I have another nail art inspired by a post on Pinterest! This is super easy (even for beginners!) and I hope you try this out! It’s a simple pale manicure with some glitter and silver gems for a glamorous touch. Let’s get started!
The original picture from Pinterest is at the bottom of this blog post. Credits to the owner!

ImageImageImage

First, paint your nails a pale, pink color until opaque. This may take two or three coats! After the polish had dried, take a striper and some gold glitter polish. Create curved lines coming from the top of your nail, ending at the bottom! Mine turned out more straight, so feel free to experiment and make funky, curved glittery lines! Next, apply some silver nail art gems anywhere on the gold glitter line. Place the gem near the top or bottom or even in the middle of the line! Apply a shining top coat and you’re finished!

I think this is a really easy and elegant look and the gems add a glamorous touch! I love this nail art and it’s really pretty ! 🙂

Let me know if you recreate these nails and be sure to share it on your blog!

Aside from the nail art, I haven’t been blogging these past few days and I’m really sorry! I’m planning to upload on the weekends, like Friday and Sunday, when I have time to blog! Another reason I haven’t been blogging as often is because I’m short of things to blog about! Grrr! I know! Please give me some blogging ideas in the comments below!:)

Thanks for reading and Jasper says hi! ❤

If you’re new to this blog and don’t know who Jasper is… click here to find out!
20130908-083735.jpg

Floral Nail Art

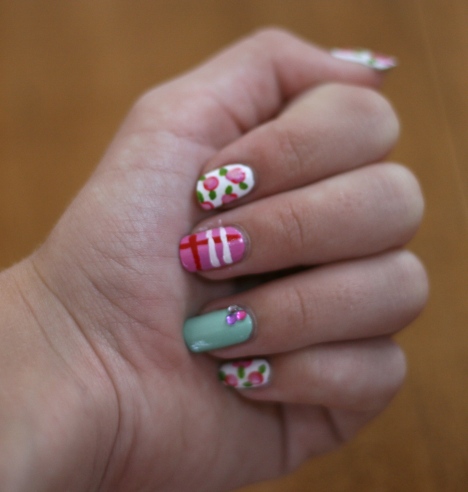
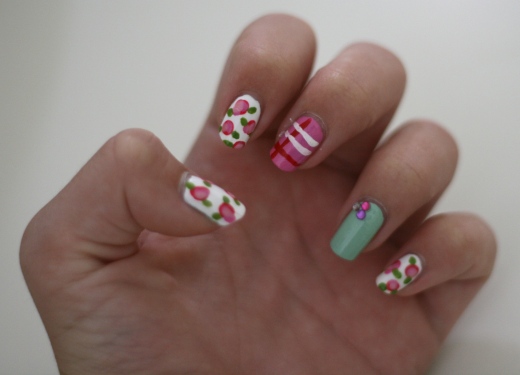
Yesterday I saw a nail art idea on Pinterest and decided to give it a try! It is super cute and I am very satisfied. Though it took some patience and time, the end product is amazing and so cute! This is probably my favorite nail art that I’ve ever tried. Let’s take a look!

ImageImage

How To Create This Nail Art!

For this design, you will need several different polishes and tools. First, paint your thumb, index, and pinkie nail white. Add two or three coats of the white polish. Take a pink polish and paint it just on your middle finger. Now, take a mint green polish and paint it onto your ring finger. After they all have dried, you can start the designs! I first took a dotting tool and created little dots on all of the white nails. I used a bright pink (almost red) polish that reminds me of candy! These dots are not meant to be perfect either! Once you are finished with those, take the same polish you used on your middle finger and a dotting tool and create little C’s. After that has dried, I took the dotting tool and a very light pink polish and placed that around the pink C’s. Next, I took a nail brush and a light green polish to create the stems. Try not to make them look like dots! For the middle finger, I took a red striper and painted a line straight down, slightly by the left side. Then, create another red stripe going the opposite direction, by the lower part of the nail. For the ring finger, apply some gems (choose any color you like!) and you are finished! If you have any questions, please let me know and I will gladly answer them!
I really love this nail art and I think it’s so cute! I adore the little roses too! I personally think that the nail art I did on my middle finger kind of ruined it, but it still looks great! 🙂

See you next time!